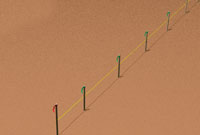
Step 1: Mark the Center of Each Pile
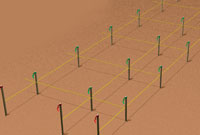
Step 1: Establish Offsets to
the Center of the Piles
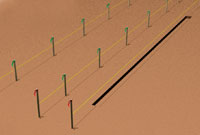
Step 1: Dig the Trench
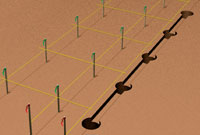
Step 1: Auger Pile Holes
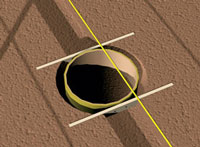
Step 2: Place the Concrete Form
Post Spacing and Forming Piles
Review the approved construction fence design for post spacing and horizontal alignment. Have corners on your project? See the layout procedures for fence corner installation or download AB Fence Tech Sheet #2005.
Step 1: Laying Out & Drilling the Piles
- Mark out the center of each pile per the requirements of the approved construction design. Suggested methods of doing this include: string line to establish the overall layout of your fence, a steel chain to develop precise duplicated spacing between posts, or by having the points set by a surveyor.
- Establish offsets to the center of the piles for later reference by using a substantial grade stake that is not easily displaced.
- Excavate a 6 in. (150 mm) deep by 12 in. (300 mm) wide trench the entire length of the fence. The centerline of the trench should also be the centerline of the AB Fence placement.
- Relocate post center locations using construction offsets and a string line.
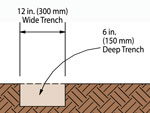
Trench Dimensions
- Excavate the pile holes to the depth and diameter specified in the approved construction design.
- When drilling the holes keep in mind that hole positioning is critical. A maximum allowable deviation of ±1 in. (25 mm) for the pile cap is allowed for the horizontal locations.
See Figure 8. - When the pile holes are excavated each hole must be checked to make sure loose material is not at the bottom of the hole. Use a long handled hand tamper to compact this soil when necessary.
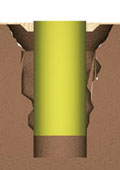
Typical Pile Footing Excavation
Granular Soils: Extended concrete form depth.
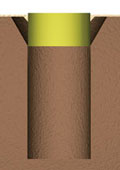
Typical Pile Footing Excavation
Cohesive Soils: Standard concrete form 12 in. (305 mm) depth.
- Soils engineers will need to verify the bearing capacity at the bottom of the pile.
- Check with your local building officials to see if a site visit is required for pile inspection.
- Note: The soil that the AB Fence is built on must be compacted and capable of supporting the weight of the structure.
Step 2: Forming the Piles
- Use a concrete form, or alternate cylindrical tubing material, to form the top of the pile hole to create a pile cap. The form should have the same inside diameter as the design pile diameter, and be a minimum of 12 in. (300 mm) deep. Additional length may be required if the sides of the excavation cave in, which is typical for granular soils.
- Place the concrete form in the hole, making sure that the center of the concrete form is in alignment with the centerline of the AB Fence to ±1 in. (25 mm), see Figure 8.
- Using a laser level, transit or string level, set the top of the concrete form level with or no more than 1 in. (25 mm) below the design elevation of the top of the pile. Use hand levels to level each concrete form pile cap individually.
- The concrete form can either be braced against the sides of the hole or staked to maintain elevation and location during casting. For a cross section of the pile hole see Figure 9.
Step 3: Pile Spacing
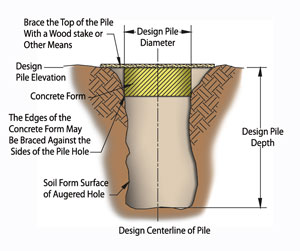
Figure 9: Pile Hole Cross Section
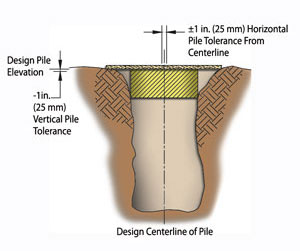
Figure 8: Pile Construction Tolerances
- To set the exact spacing between each AB Fence post, use the AB Fence Pile Layout Jig
- Mark the placement of the rebar in the pile, using the Post Block Template during the pile pour. For more information see the construction detail.
- Spacing between each pile must be maintained to a tolerance of ± 0.5 in.(13 mm) to allow for proper interlock between post and panel sections.
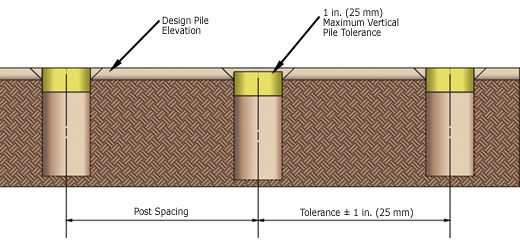
Level Piles

